I have a bit of an obsession with Fage plain greek yogurt. Out of all the greek yogurts I’ve had to date, it’s the least tart-tasting and most pleasing one consistency-wise (not glue-y) to me. Surprisingly, it also has a relatively low sugar content – 7g sugar vs. the 16+ grams per serving of other plain greek yogurts. As I prepare to strike out for Colorado without full-time employment, a question looms: Will this delightful but pricier yogurt remain a part of my life? Will I be able to continue indulging in generous dollops of it on my broiled grapefruit? What could possibly replace this precious, convenient source of protein and calcium? I have lain awake many a night, turning this significant matter over in my mind. Ok, maybe not quite. But I have savored each perfectly smooth spoonful just a little bit more.
Luckily for me, Wong’s Hobbit posted a genius idea a while back in her post Make or Buy: Make your own yogurt. I looked at some prices at our local supermarket to see if it really was cost-efficient, and found the following: $1.79 for a 1/2-gallon (64 oz.) of milk vs. $3.50 for 17 oz. of Fage plain yogurt. Even taking into consideration the loss of some “water weight” during the yogurt straining process, it seemed worth it to give yogurt-making a shot.
So, with renewed hope, I set forth on a quest to save the future of greek yogurt in my life, and all accompanying health and happiness. There was another hurdle to clear though: I’m lazy I value convenience. The thought of being enslaved to a cooking thermometer and constantly monitoring the temperature seriously dampened my enthusiasm (I was also taken aback after reading some instructions that recommended wrapping the yogurt in an electric blanket…I’ve never bought an electric blanket for myself, let alone my food!). I almost gave up, but then it occurred to me that people have probably been making yogurt for a looong time…If ethnic cooking, e.g. Indian, Turkish, etc., incorporates yogurt into its dishes, I’m willing to bet that people made yogurt long before the cooking thermometer and electric blanket were invented.
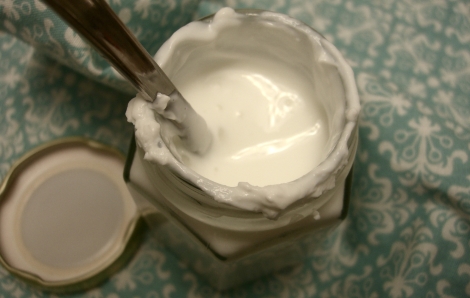
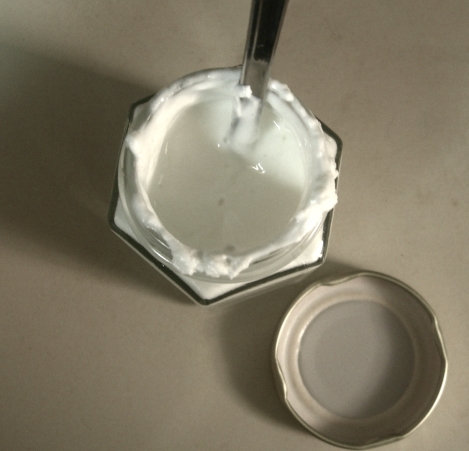
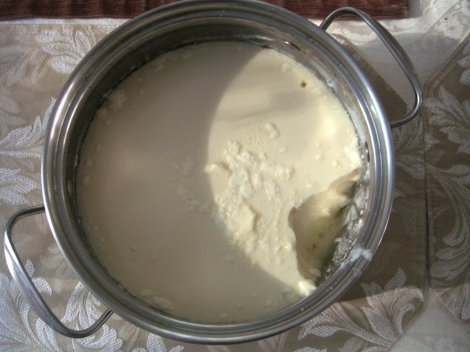
After googling a bit, I finally had some directions that suited my laziness, i.e. they provided visual and tactile cues to look for in place of thermometer readings. The result: A decently thick (still thinner than store-bought though), surprisingly smooth yogurt that was even less tart than Fage. I didn’t know what to expect when I opened my oven door 4.5 hours later – A grainy puddle of milk? A lumpy mixture? The same 2 tablespoons of yogurt suspended in milk that I started with? But it worked! It actually worked! I’m ecstatic.
Some random little facts about our fermented friend:
- If you’re slightly lactose-intolerant, not only might you be ok eating yogurt, but it might also actually help build tolerance! Yogurt contains less lactose than milk does because the bacteria consume the lactose in milk during fermentation. The bacteria also produce lactase, an enzyme that breaks down lactose and continues to act in one’s intestines upon consumption (i.e. the bacteria are digesting lactose for you).
- The lactic acid produced by bacteria as a byproduct of fermentation not only curdles the milk to give yogurt its texture and characteristic tartness, but it also serves as a natural preservative, creating an environment inhospitable to unwanted organisms (Hmm, maybe this explains why I’ve eaten yogurt well past its expiration date, and felt fine).
- The acidity in yogurt is helpful in baking when you need something to rise (e.g. baking soda needs to be paired with an acid in order to work).
HOMEMADE YOGURT
References: Wong’s Kitchen, an old conversation with my friend Ramya, The ABCD’s of Cooking, Northern Indian Cooking, and Watson Dairy Consulting
Yields ~4 cups unstrained yogurt (roughly equal to the volume of milk you start with)
Ingredients
- 4 cups of milk (the higher the fat content, the richer the resulting yogurt)
- 2 Tbsp. yogurt containing live active cultures (I read somewhere that different bacteria will produce yogurt with slightly different tastes/acidities, and consistencies, so perhaps choose a brand you like. Alternatively, you can also buy yogurt starter.)
Directions
(Temperatures have been included for those who like thermometers as much as I’m averse to them)
1. Preheat oven to 200 degrees F.
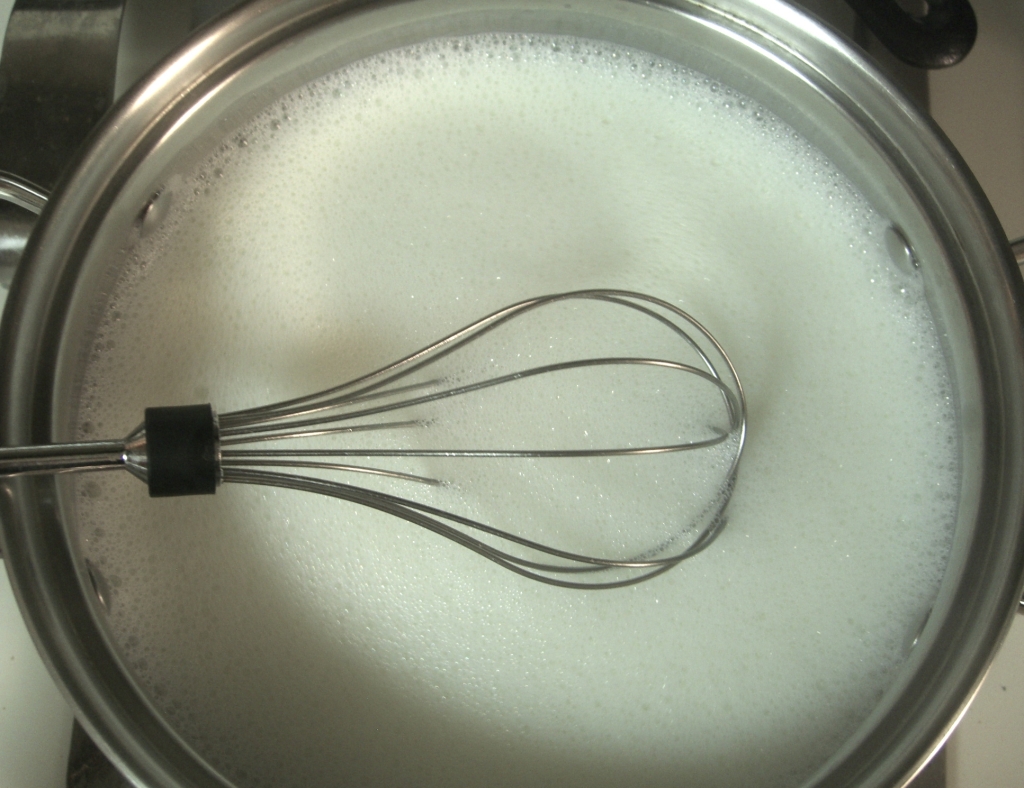
2. In a heavy-bottom stainless steel pot (or any other stove/oven-safe container), bring the milk to a boil over medium flame (~180 degrees F). This will take a while, ~20 minutes in a medium pot. The milk will start to froth before it boils. Heating the milk does two things: 1) Kills competing bacteria, and 2) Denatures (changes the shape of) proteins in the milk, helping the milk to “gel” and preventing the separation of water from the yogurt during storage.
Milk burns easily, so heat gradually and stir a lot to prevent burning (Don’t get impatient like I did once, and end up with a rubbery black bottom layer and yogurt tasting like band-aids. Yes, nasty. This is especially true if you’re making a larger quantity, e.g. doubling the recipe. It will take longer for a larger volume to fully heat up, giving the milk more opportunity to burn at the bottom).
3. Simmer the milk for 5 minutes, stirring regularly. Remove from heat.
4. Allow the milk to cool until lukewarm to the touch (Stick a clean finger in the milk. If you can hold it for 10 seconds without it becoming uncomfortably hot, it is ready. ~110 degrees F.). This may take ~20-30 minutes.

There is no real purpose to this picture. I just thought it was cool you could see the steam rising.
5. Add one tablespoon of starter yogurt and blend thoroughly into the milk.
6. Take the remaining tablespoon of starter yogurt and rub the yogurt against the walls of the container containing milk. According to The ABCD’s of Cooking, yogurt fermentation begins on the walls of the dish.
7. Turn off the oven, and open oven door to cool the oven slightly. It should be toasty warm, but not hot if you stick your hand in (somewhere between ~100-150 degrees F). If it is too hot, you’ll kill the bacteria.
8. Transfer the pot to the oven. Lock the oven door to seal in the heat. Turn on oven light if you have one, to help maintain temperature (Our oven light is broken, so I did not do this. The oven temperature was significantly cooler by the end of the incubation).
9. Incubate 4-5 hours, or longer if you prefer a more tart yogurt.
10. Refrigerate to set yogurt.
11. Set aside 2 Tablespoons as starter yogurt for your next batch.
12. Optional: Strain with cheesecloth, paper towel, or fine mesh strainer for thicker yogurt (e.g. greek yogurt). Thickness will depend on straining time. (My mesh strainer was not fine enough, so I lined it with a double layer of cheesecloth. For this batch, straining 2 hours resulted in a yogurt slightly thicker than Stonyfield brand yogurt that has been vigorously stirred; Greek yogurt would have needed a longer straining time).


 Milk happily frothing away.


Thank you for posting. Your tip on how to know the milk is warm is very helpful.
So glad you found this helpful! Hope your yogurt turned out well :)
im so excited to see the results. I just put it in the oven!! :) Thank you so much for this helpful recipe. :)
I hope it turned out well for you! :)
So happy to have found this recipe! I am making a batch at the moment. Thank you for sharing a detailed recipe that I found easy to follow! Best Pea
I’m so happy you’re happy to have found this! Glad it was easy for you to follow. If you get a chance, I’d love to know how it turned out for you!
So do I need a thermometer or not?
Nope, you do not. You can use the visual and tactile clues described in the instructions. I just included the approximate thermometer temperatures for those who like using a thermometer/want a reference.
How long do you refrigerate the yogurt to have it set? I’m so excited to do this- it’s been a few years since I’ve made yogurt and am glad to have found this site (I don’t have a thermometer!). Oh, and do you put the lid on the pot in the oven? Thanks!
Hi Amanda, I’m not sure what the minimum amount of time would be. I leave it in the fridge overnight, which gives it plenty of time to fully chill throughout and firm up (I don’t check on it once it’s in the fridge, so I don’t know when exactly it sets). If you notice that it firms up for you in a shorter time, I’d love to know how long it takes for you.
And yes, I put the lid on the pot in the oven.
I’m excited for you too, and hope and it turns out well for you!
I love you! I was about to give up on making my yogurt simply because I have recently moved to the Middle East where yogurts (as we are used to) are expensive and so is the equipment to make it with. So I don’t own a thermometre or incubator. Many thanks for the great temperature regulating tips!! Yogurt turned out super nice!
I’m so glad you didn’t give up just yet and were able to find a way to make yogurt as you like in your new home! I hope all other aspects of settling in goes well too!
Pingback: So Simple – Homemade Yogurt·
Thank you for this recipe. I tried it last night using Strauss whole milk yogurt, which I like because it is sooo rich and creamy (but so expensive), and Horizon organic ultra-pasturized lactose-free milk. The result was creamy, thinner than Strauss, which I expected, and sweeter than the Strauss; the Horizon milk is very sweet as milk goes, as it is ultra pasturized. So it’s almost like creme fraiche.
Wow, that sounds like quite the treat! Thanks for sharing – I’m glad it turned out well for you!
My thermometer broke part way through making yogurt so this was very helpful!
Super late reply, but I’m so glad you were able to finish making your yogurt!
So glad you checked this out so that when my brand-new digital thermometer off eBay turned out to be completely bazookered on its first trip out of the box, I was still able to make perfectly good yogurt using your instructions – thank you so much!
Oh no, so sorry to hear about your thermometer! Glad you were still able to finish making your yogurt!